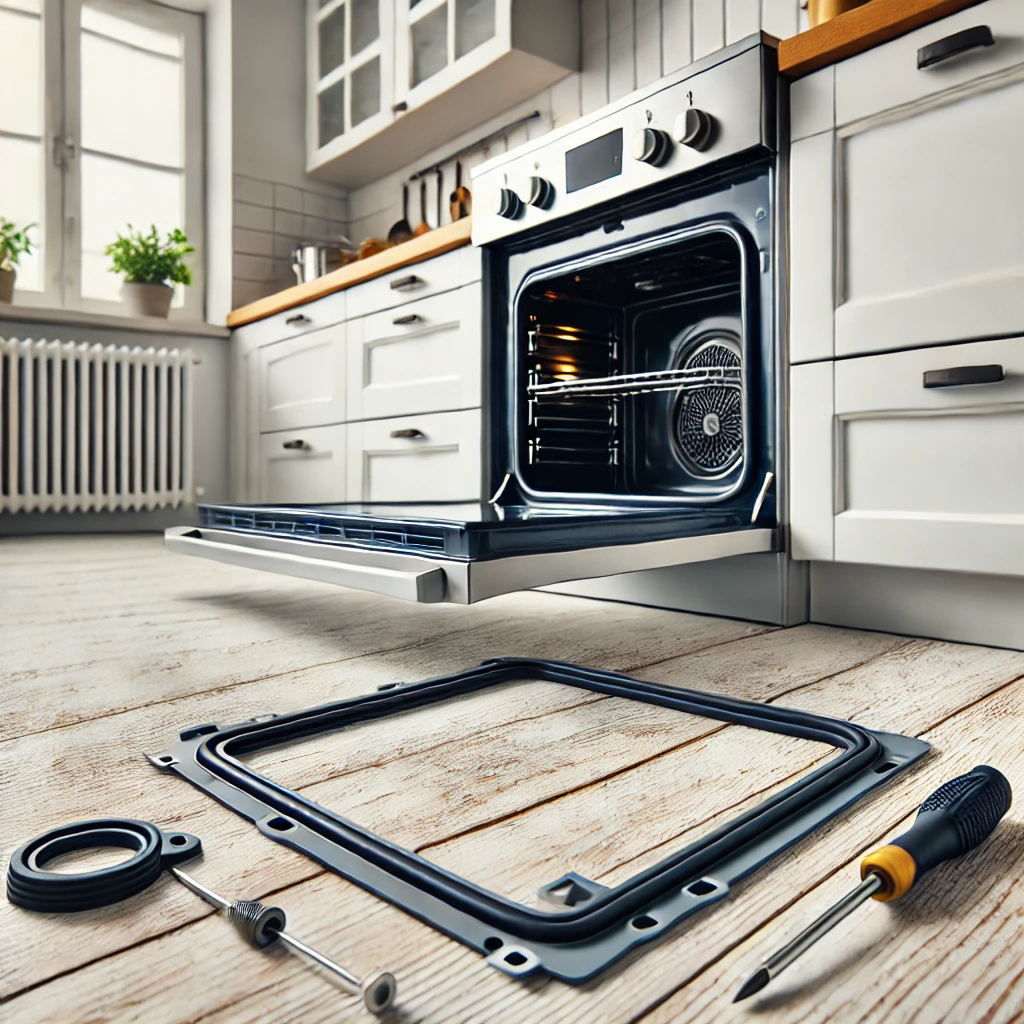
Broken Oven Door Seal? Easy DIY Fixes
The oven door seal, also known as the gasket, plays a crucial role in maintaining the internal temperature by creating a tight seal to prevent heat from escaping. A broken or damaged seal can lead to uneven cooking, longer cooking times, and higher energy bills. Fortunately, fixing a broken oven door seal is a straightforward task that you can often do yourself. Here’s how to identify and repair the issue.
1. Why Is the Oven Door Seal Important?
The door seal helps trap heat inside the oven, ensuring consistent cooking temperatures. A broken seal can cause:
- Heat loss, leading to inefficient cooking.
- Increased energy usage as the oven works harder to maintain the set temperature.
- Hot air escaping, making the kitchen uncomfortably warm.
Tip: Regularly inspect the door seal to ensure your oven operates efficiently.
2. Signs Your Oven Door Seal Is Broken
You may not immediately notice a broken seal, but here are some common signs:
- Visible cracks, tears, or gaps in the gasket.
- Food takes longer to cook than usual.
- Unevenly cooked meals.
- Heat escaping around the oven door, making it hot to the touch.
Tip: If you suspect the seal is damaged, inspect it closely by opening the oven door and running your hand along the gasket.
3. What You’ll Need for the Repair
Before starting the repair, gather the necessary tools and materials:
- A replacement oven door seal (specific to your oven model)
- A flathead screwdriver or pliers
- Mild soap and water or a non-abrasive cleaner
- A clean cloth
Tip: Ensure you purchase a gasket compatible with your oven. Check the model number on the inside of the oven door or in the user manual.
4. Step-by-Step Guide to Fixing a Broken Oven Door Seal
Step 1: Turn Off the Power
- Unplug the oven or switch off the circuit breaker to ensure safety.
Step 2: Remove the Damaged Seal
- Locate the Seal: Open the oven door and find the seal. It’s usually attached to the oven cavity or door frame.
- Detach the Seal: Use your fingers or a flathead screwdriver to gently pry the seal away from the clips or groove holding it in place. Some seals may require pliers to remove.
Tip: Keep track of any clips or fasteners as you’ll need them for the new seal.
Step 3: Clean the Area
- Use a damp cloth with mild soap to clean the groove or area where the seal was attached. Remove any grease, debris, or old adhesive residue.
- Allow the area to dry completely before installing the new seal.
Tip: A clean surface ensures the new gasket adheres properly and forms a tight seal.
Step 4: Install the New Seal
- Align the Seal: Position the new gasket along the groove or clips where the old one was attached.
- Secure the Seal: Press the seal firmly into place, ensuring it fits snugly and evenly. If your seal uses clips, attach them securely.
- Check for Gaps: Run your fingers along the seal to ensure there are no gaps or loose sections.
Tip: Follow the manufacturer’s instructions included with the replacement gasket for specific installation details.
Step 5: Test the Seal
- Close the oven door and check if it seals tightly. You shouldn’t see any light or feel heat escaping around the door edges when the oven is on.
5. Preventing Future Damage
To extend the life of your new oven door seal, follow these maintenance tips:
- Clean Regularly: Wipe down the seal after spills to prevent grease and debris build-up.
- Avoid Harsh Scrubbing: Use a soft cloth and mild cleaner to avoid damaging the gasket.
- Check for Damage: Periodically inspect the seal for signs of wear and replace it promptly if needed.
6. When to Call a Professional
If the new gasket doesn’t fix the issue or the seal isn’t the cause of heat loss, the problem might lie with the door hinges, alignment, or other components. In such cases, consult a professional technician for further inspection.
Conclusion
A broken oven door seal is a common issue that can significantly impact your oven’s performance. By following these easy DIY steps, you can replace the seal yourself and restore your oven’s efficiency. Regular maintenance and inspections will help keep your oven in top condition, ensuring evenly cooked meals and lower energy bills.

